RUSTBUSTER BODY PANEL RUST REPAIR KIT
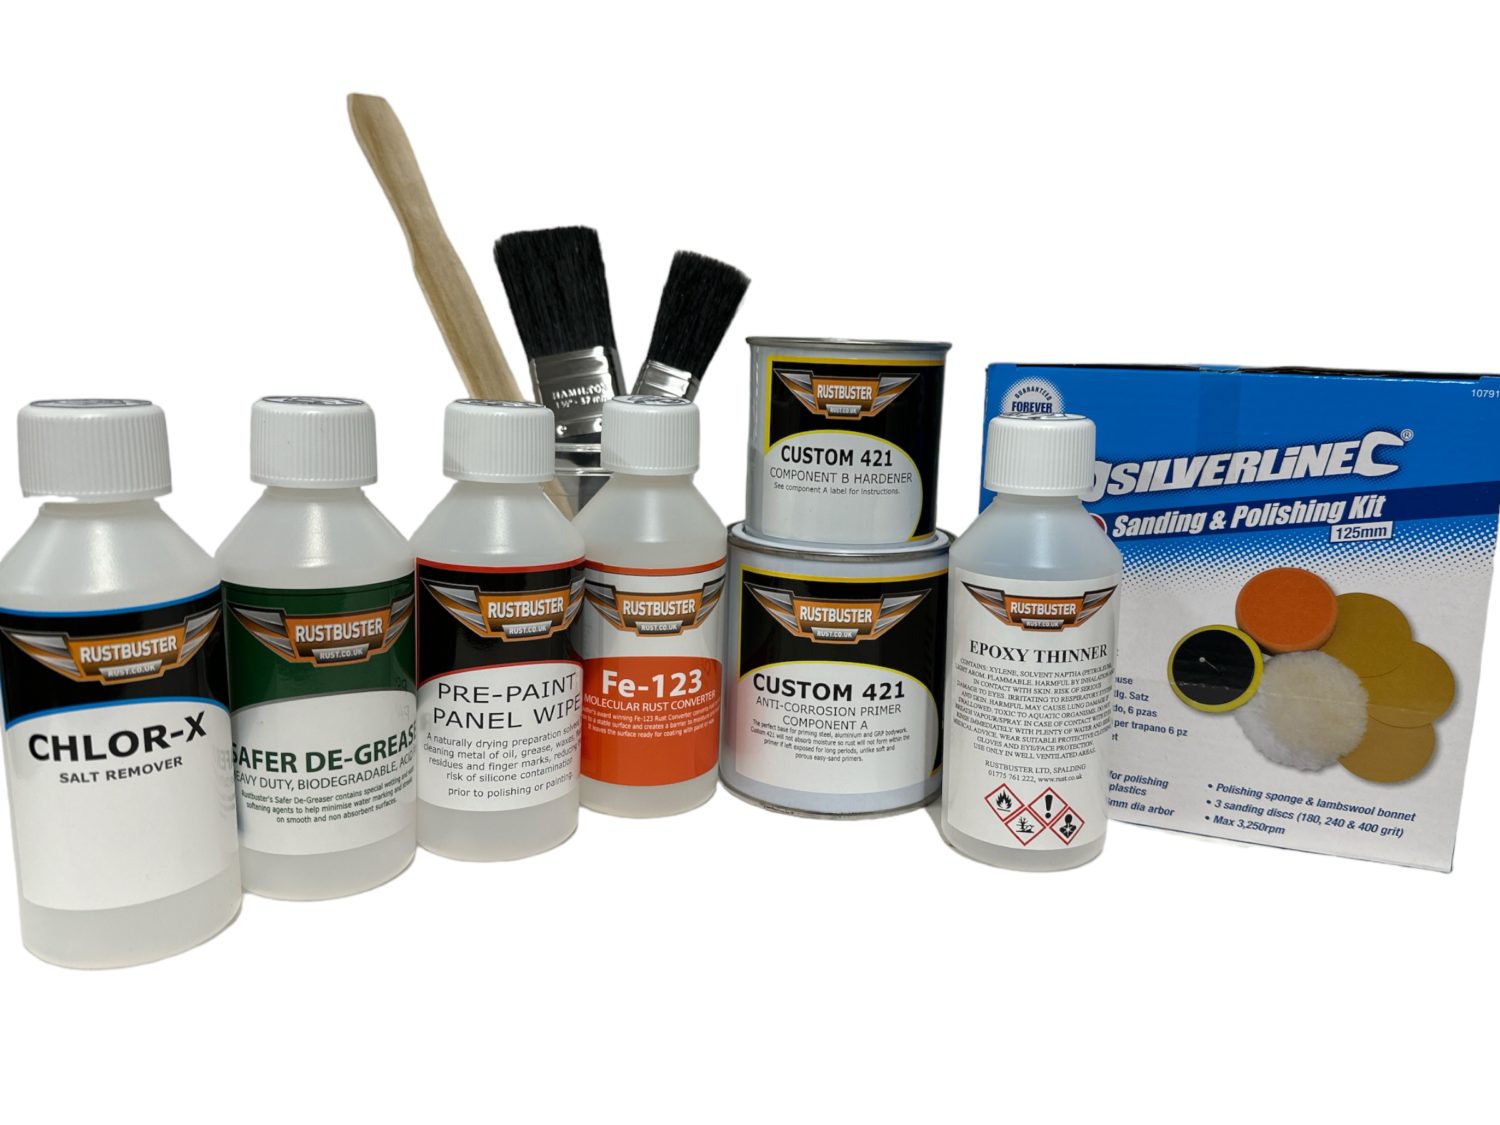
Kit contains,
- 250ml Chlor-X Salt remover spray
- 250ml Safer De-Greaser Spray
- 250ml Fe-123 rust converter
- 250ml Pre Paint Panel Wipe
- 600ml Custom 421 Grey pure epoxy primer
- 1” Brush
- 1.5” Brush
- 2x Mixing cups
- Paint stirrer
- Silverline 125mm Sanding and Polishing Kit
- Wash down the vehicle’s paint work using Rustbuster Chlor-X salt remover and Rustbuster Safer Degreaser.
- Open up the paint blister with the 120 grit sanding disc attached to your drill, being careful not to damage too much of the good surrounding paint. This will reveal the extent of the rust.
- If the steel’s surface has been perforated, you may need to consider welding in a patch or replacing the panel, assuming that the steel is not perforated proceed to step 4.
- Remove all the rust and old failed paint back to a sound steel surface. Use abrasive discs 180-320 to ‘feather edge’ the good paint with the bare metal.
- If there is still some rust pitting deep in the steel you may want to consider the use of Rustbuster Fe-123 Rust Converter. Apply to the steel surface very lightly, working the solution deep into the steel. Overlap the edges of good paint by only a millimetre or so: focus the Fe-123 on the rust, not the paintwork. When the Fe-123 has fully reacted with the oxides it will turn black. Read our guide to using Fe-123 Rust Converter for more information about this process.
- When the treated areas have fully cured (hard black) lightly sand to remove any nibs, and ideally give the area to be painted a final clean with Pre-Paint Panel Wipe.
- Apply a coat of Rustbuster Custom 421 Epoxy Body Primer. This can be rubbed down when dry to the level of the existing paint using the 180,240,400 abrasive discs. Further coats and/or filler can be applied over the Custom 421 where necessary and sanded until you have achieved a smooth surface.
- Once your preparation is complete, the area is now ready to take a coat or two of your body colour to complete the repair.

